How to Install POS Application at Store Server
NOTE – Before start SQL Installation first check System Name, if there is any (-) or (/) is there in System Name for example [SERVER-PC], then first remove (-) from the Server name and type only SERVER in the name and restart it.
Step – 1, Download and Install SQL Server.
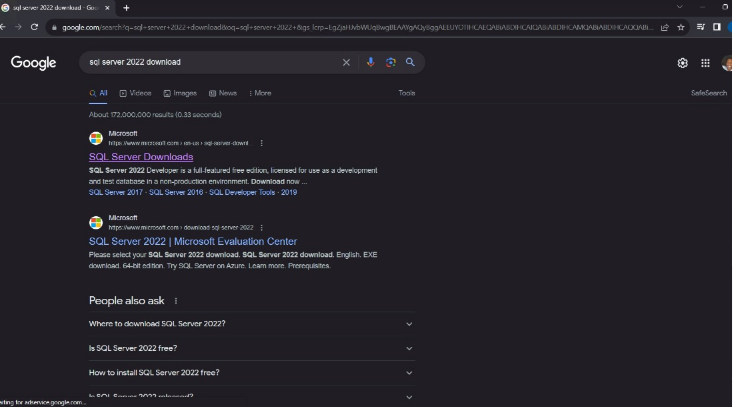
> Open the browser and download the SQL Server, click on first link SQL Server Downloads Microsoft for download setup exe.
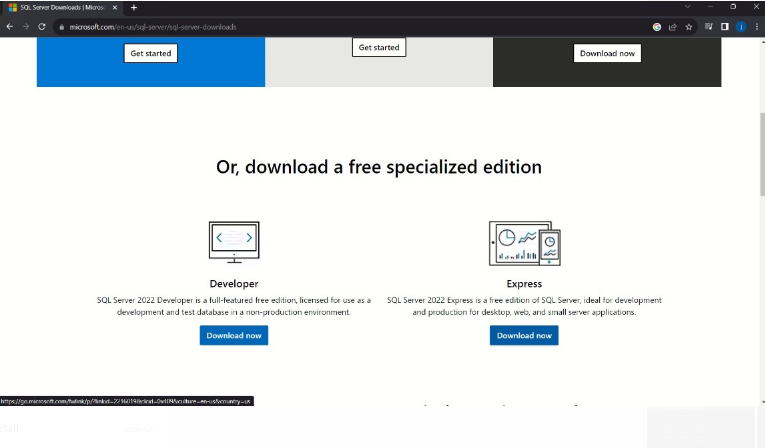
>After open page, click on Express edition download button to download.
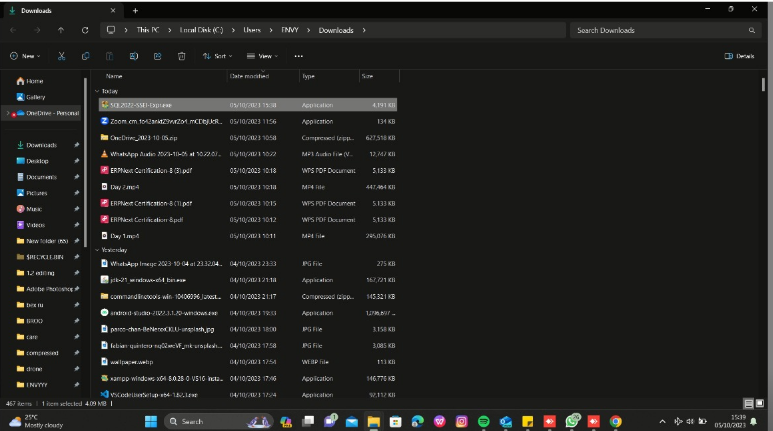
>After download setup, click on SQL exe to install the setup.
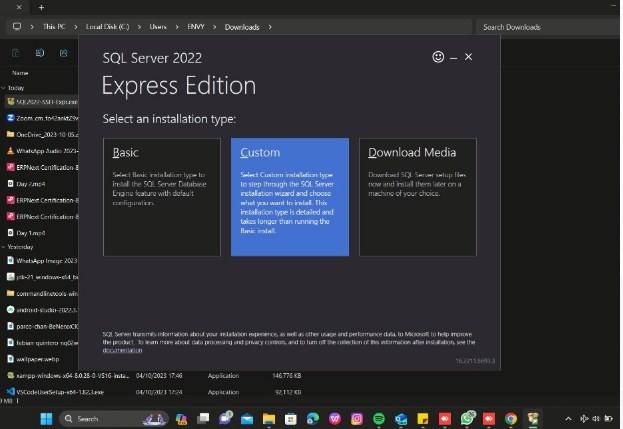
>Select Custom option
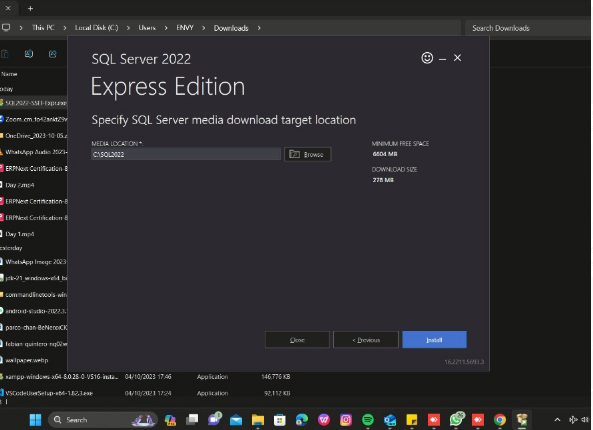
>If you want to change the download path, then click on Browse option to change path location, otherwise click on Install button to continue.
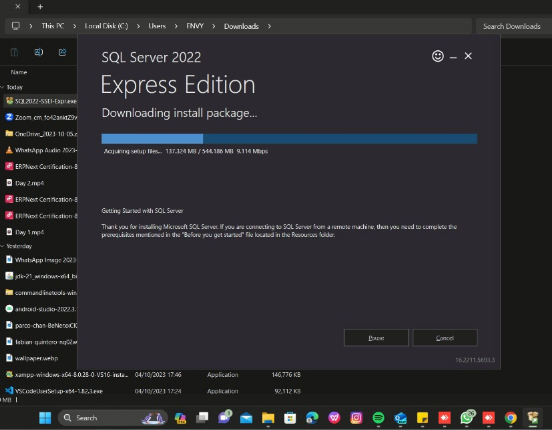
>After click on Install button, you will see the SQL Server installation process will start.
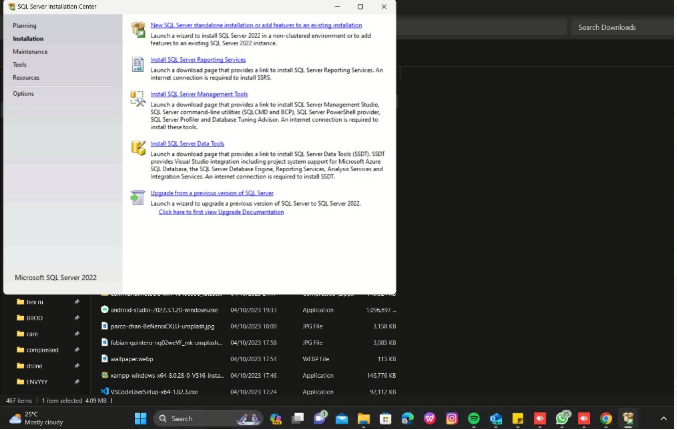
> Please click on first option (New SQL Server Standalone Installation) to continue installation process.
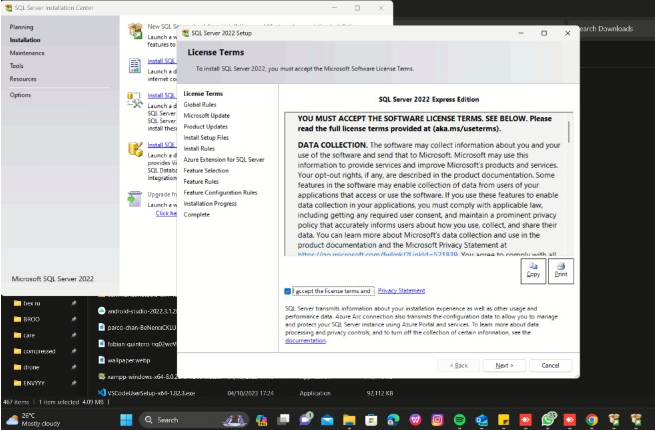
>Click on I Accept box, and then click Next button to continue.
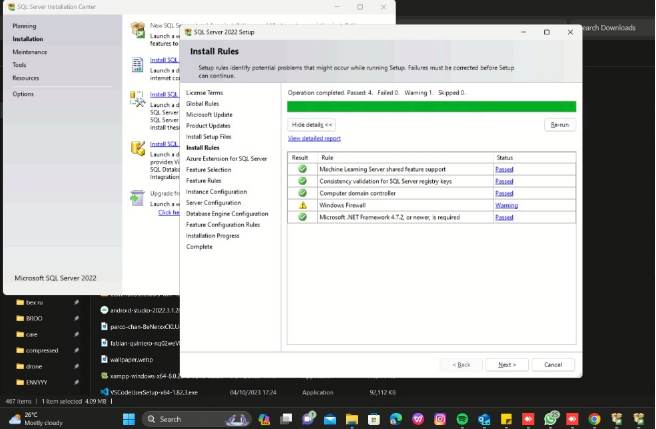
>Click again Next button to continue.
>Click again Next button to continue.
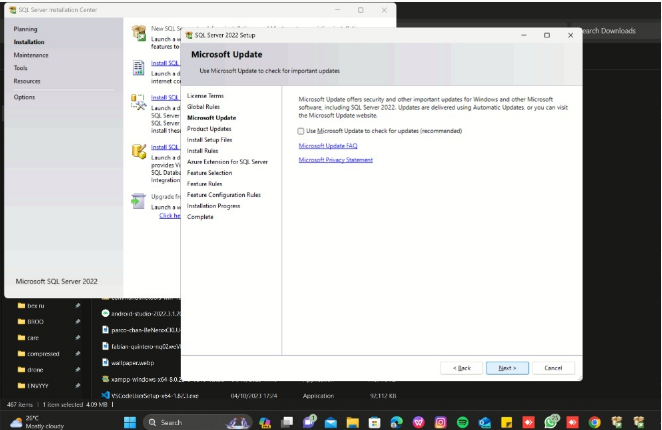
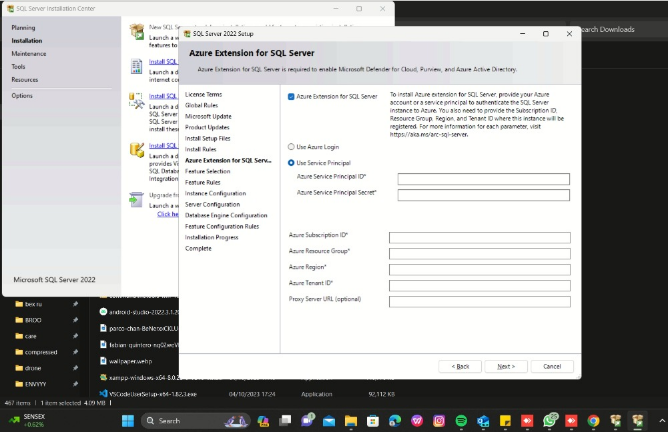
>Untick the Azure Extension for SQL server check box, then click Next to continue.
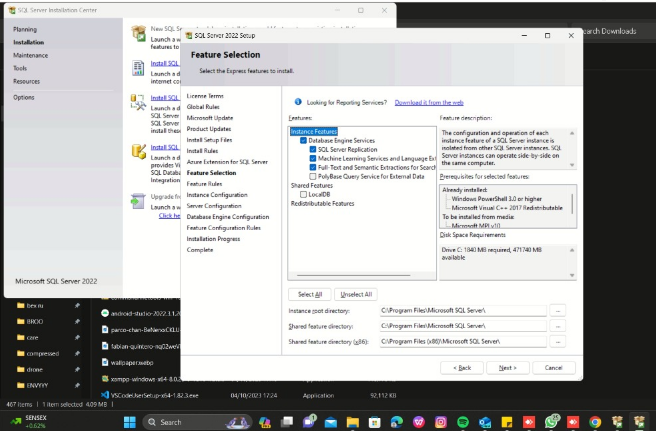
>Click Next to continue.
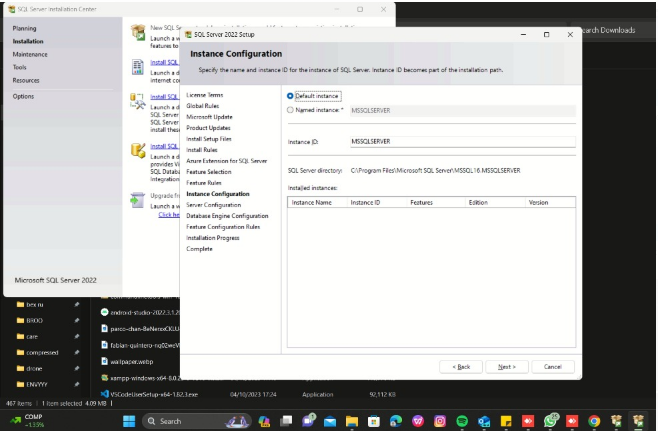
>Click Default instance option, and then click again Next to continue.
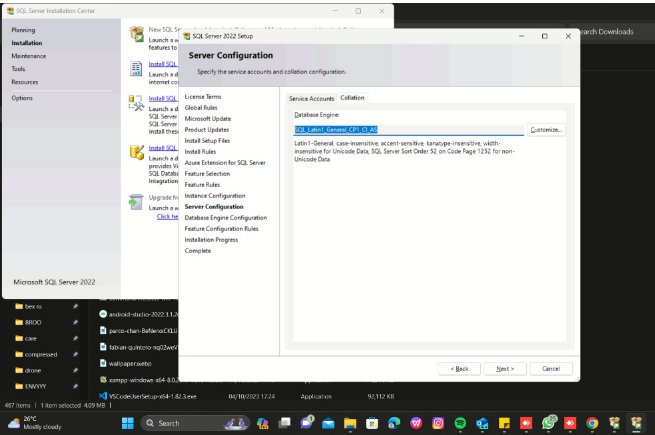
>After Click Next, please click on Collation option to check Database Engine name.

>After click Collation option. If it same as show, after that click on Next to continue.
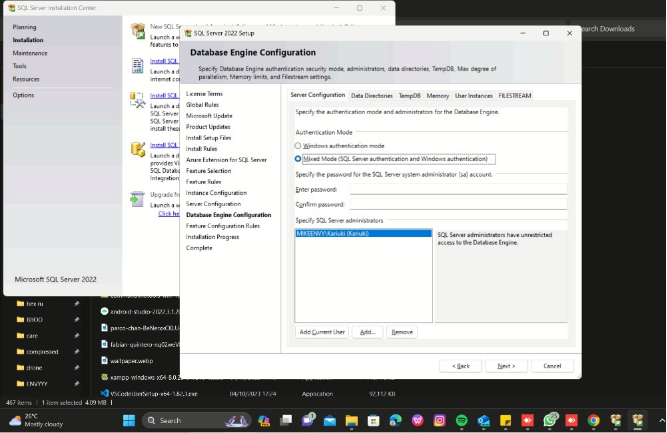
>Click Mixed Mode option and enter (sa@123) in both password columns, and after that click Next again to continue.
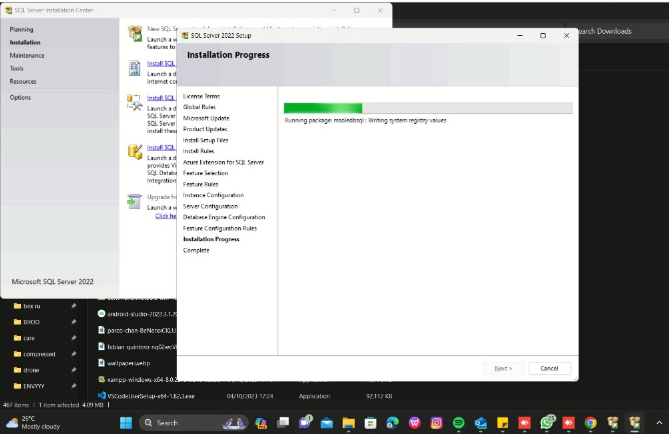
>Now you will see, last installation process in progress.
>Now the SQL installation process is completed.
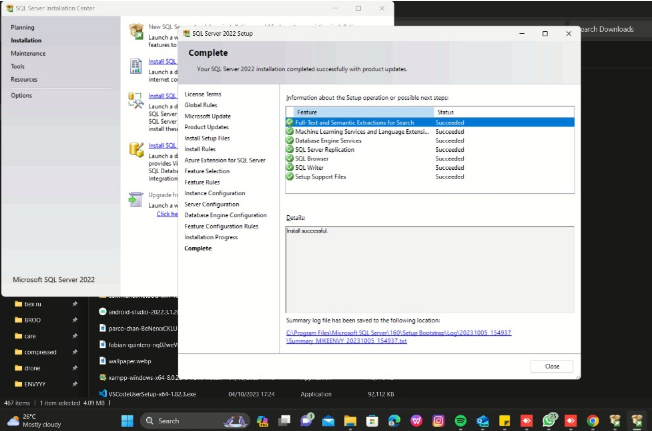
>>Now SQL Installation Process is completed.
Step – 2, Restore backup only at Store Server
Using T-SQL
RESTORE DATABASE AnimoPOS
FROM DISK = ‘C:\Backup\Database_Backup.bak’
WITH MOVE ‘AnimoPOS_Data’ TO ‘D:\SQLDB\Data\AnimoPOS.mdf’,
MOVE ‘AnimoPOS_Log’ TO ‘D:\SQLDB\Log\AnimoPOS.ldf’
Using SQLCMD
To restore a SQL Server database using sqlcmd, you can use the -Q option to specify a restore command to be executed. The basic syntax for restoring a database using sqlcmd is as follows:
sqlcmd -S [server_name] -Q “RESTORE DATABASE [database_name] FROM DISK=’C:\Backup\backup_file.bak’ WITH RECOVERY
-S [server_name] – The name of the SQL Server instance to connect to.
-Q – Specifies a query to be executed.
🔄 1. Drop existing user from the restored DB (if any)
sqlcmd -S localhost -U sa -P “YourSAPassword” -Q “USE [RestoredDB]; DROP USER IF EXISTS [old_user];
🧾 2. Create login (if it doesn’t exist) and set default database
sqlcmd -S localhost -U sa -P “YourSAPassword” -Q “IF NOT EXISTS (SELECT * FROM sys.sql_logins WHERE name = ‘new_login’) BEGIN CREATE LOGIN [new_login] WITH PASSWORD = ‘StrongP@ssw0rd!’, DEFAULT_DATABASE = [RestoredDB]; END ELSE BEGIN ALTER LOGIN [new_login] WITH DEFAULT_DATABASE = [RestoredDB]; END
👤 3. Create user in the DB mapped to the login
sqlcmd -S localhost -U sa -P “YourSAPassword” -Q “USE [RestoredDB]; CREATE USER [new_user] FOR LOGIN [new_login] WITH DEFAULT_SCHEMA = [dbo];”
🛡️ 4. Grant db_owner role to the user
sqlcmd -S localhost -U sa -P “YourSAPassword” -Q “USE [RestoredDB]; ALTER ROLE [db_owner] ADD MEMBER [new_user];”
Step – 3. Install and Configue Animo POS Application.
Install POS Setup.
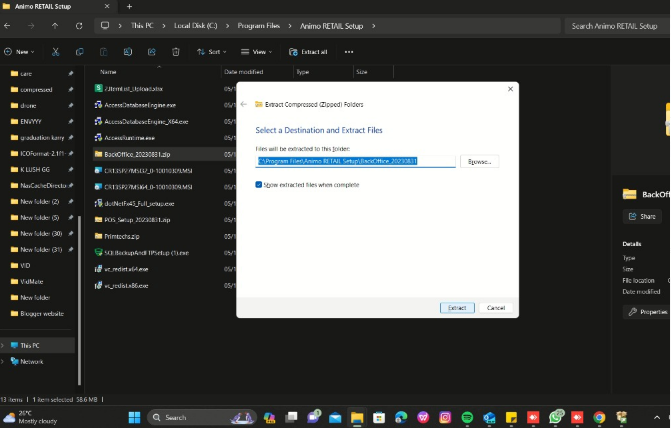
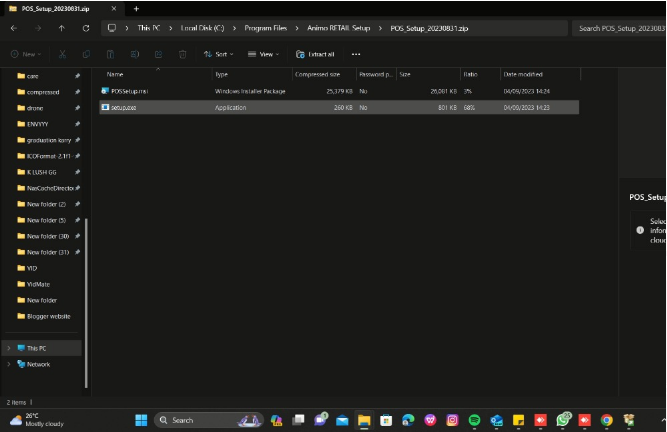
>Right click on POS folder to Extract.
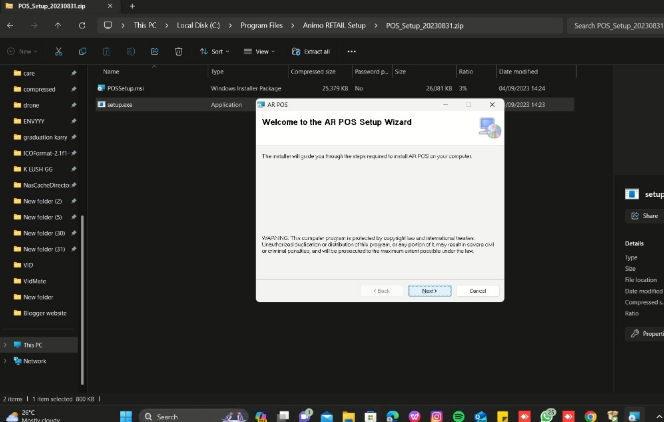
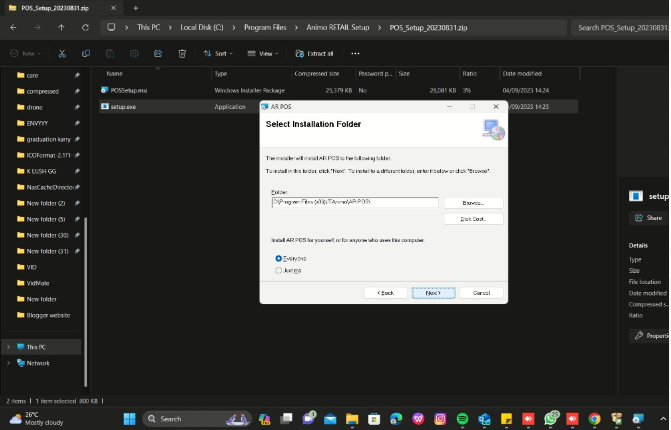
>After extract, run the Setup exe.
>Click Next button to continue the installation process.
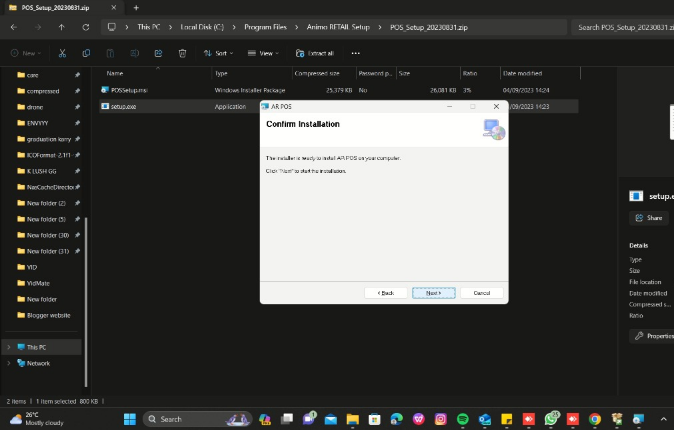
>Again, Click Next to continue.
>Click Next to complete the POS Setup.
Now the POS installation process is also completed.
Step – 3, Allow Permission to ITANIMO Folder
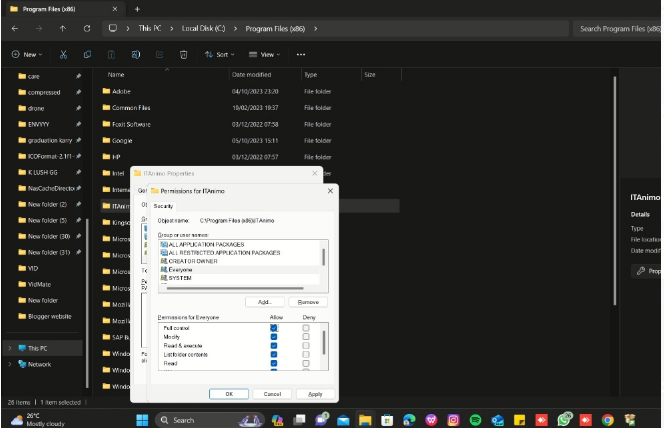
> You must give permission to Itanimo folder in C drive, the folder in which you have installed the application.
> Right click on folder, and click to Properties option.
> Click on Security option, then click on Edit.
> After click on Edit, click on Add button.
>Type Everyone in Enter the object names option, then click Ok button.
>After click Ok, please click on Full Control Check box option, make sure you have selected Everyone in group while click on full control
check box, after that press Apply button. then click Ok.
>>Now Folder Permission process is completed successfully.
>When you try to login in POS it will open a Connection Window where you need to enter your credentials like servername, DatabaseName, UserName and Password
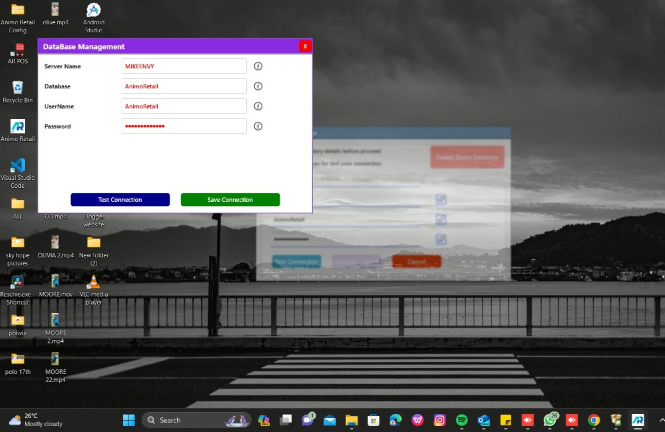
> After click on Test Connection button, you will see the confirmation message, click ok and now click on Save Connection button to save the connection.
> After click on Save Connection button, you will see again the confirmation message click Ok to continue.
>After Complete now click on AnimoRetail or POS application icon, and you will see the Login page will appear.
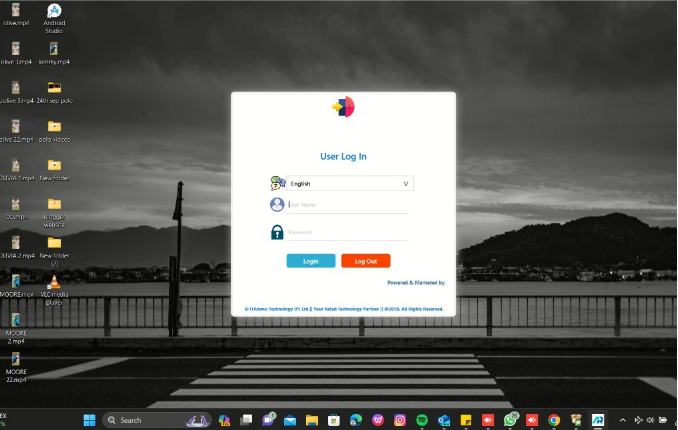
>Now the Animo Application & SQL Installation process is completed successfully.