AR/WEB-001- How to Create Vendor
- Navigation – Procurement – Setup – Vendor Master
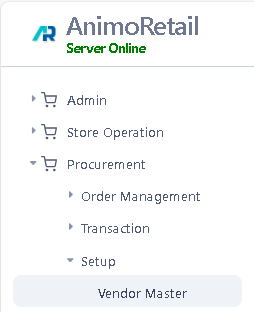
- Click on Vendor Master function and a list of all existing vendors will appear, click on any vendor to edit it or you can click on NEW VENDOR Button to create a new vendor.
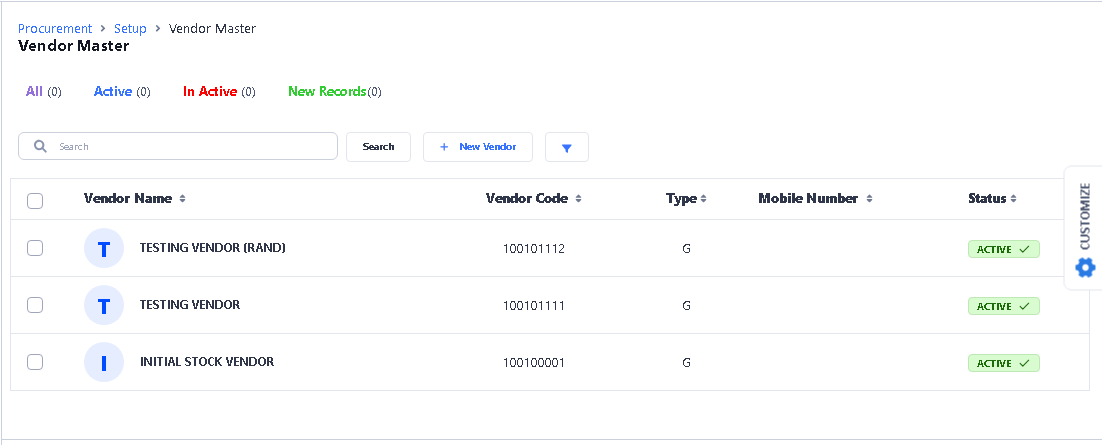
> Click on New Button to create New Vendor.
 >A new window will appear with following user interface options
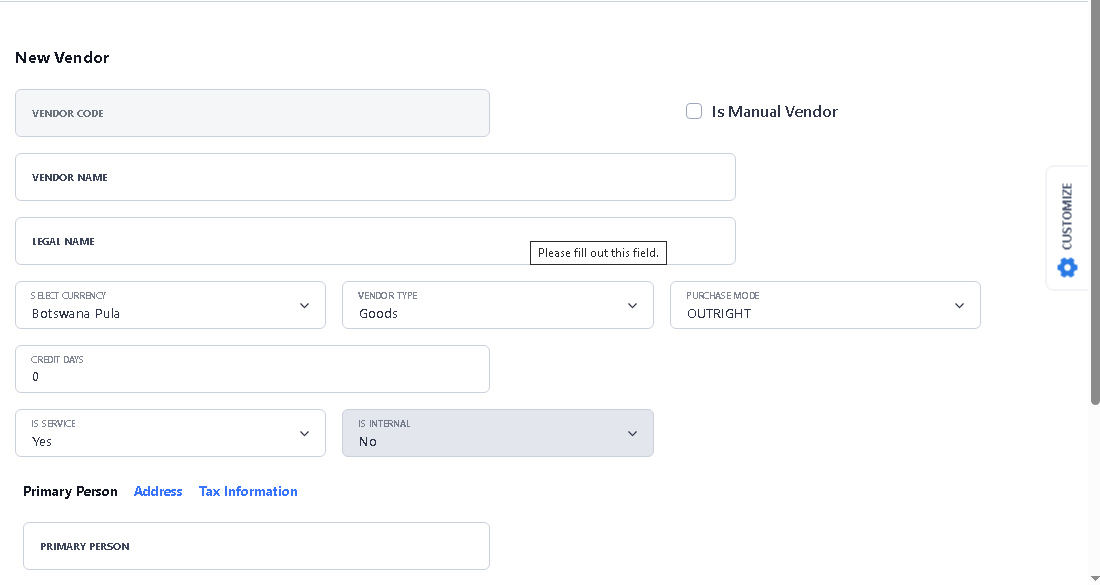
- Mandatory Information
- Vendor Name
- Legal Name of Vendor
- Tax Region of Vendor
- Currency of Vendor
- Default Formula of Purchase (Terms)
- All other information is optional to fill or change.
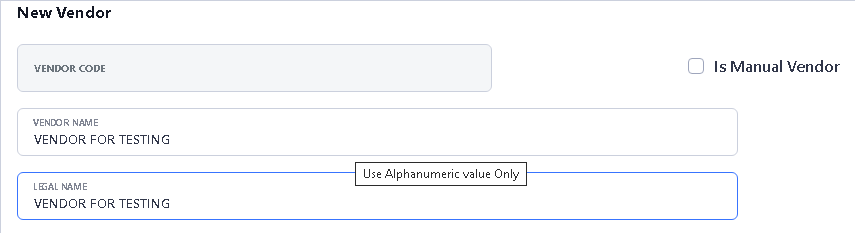
> For Vendor Name and Legal Name please type here like this.
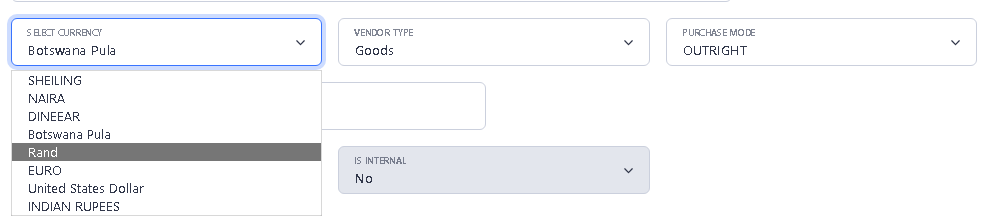
> To create a foreign currency vendor please remember to change currency
- Please note once created currency is not editable.
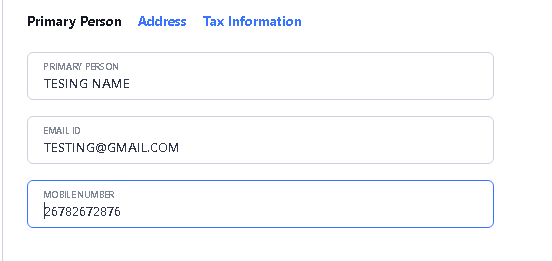
> After type vendor name and select currency, for others details like Primary Person, Email or Mobile Number, please enter on Primary Person option.
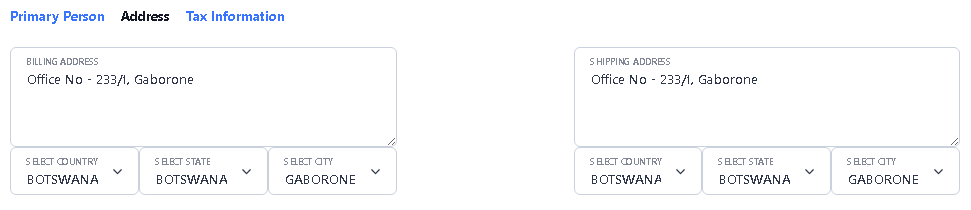
> For Address, please click on Address option and type the address details here. If billing address and Shipping address are same, then copy the billing address and paste the same details in shipping address. and also, please select country, state and city from drop down options.
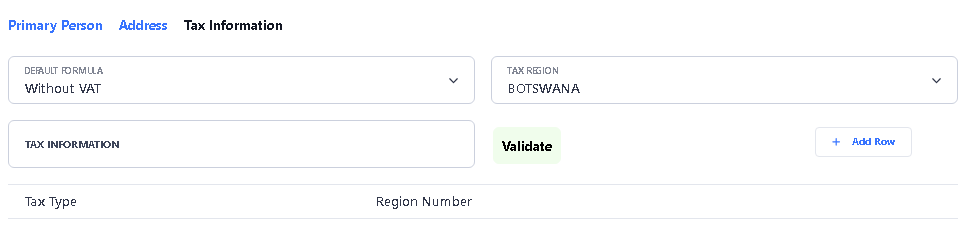
> For Tax Information, please click on Tax Information option to enter the details.
> After fill all the details, then click on Save Vendor option to Save the Vendor.

> After Click on Save button, you will see the confirmation message on the top.
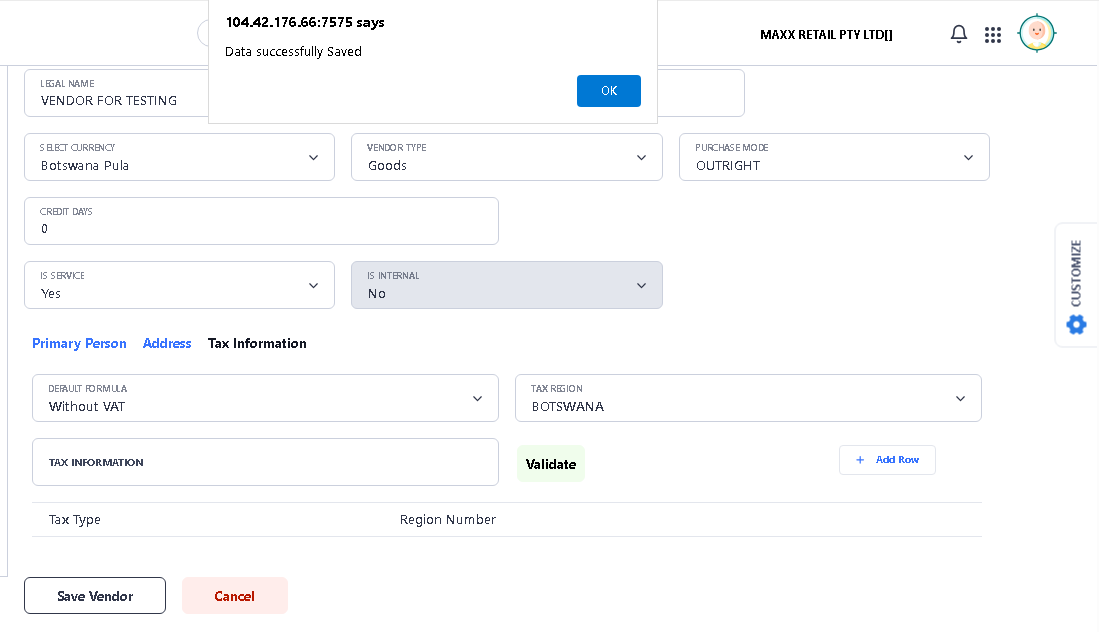
> Now your Vendor Creation process is completed successfully.