AR/WEB-004- How to create Job Master.
Navigation – Point of Sales – Point of Sales – Job Master.
> As you can see, here are two step to create Job Order.
Step 1> Job Master.
Step 2> Job Order.
>>Start with Step 1. Job Master.
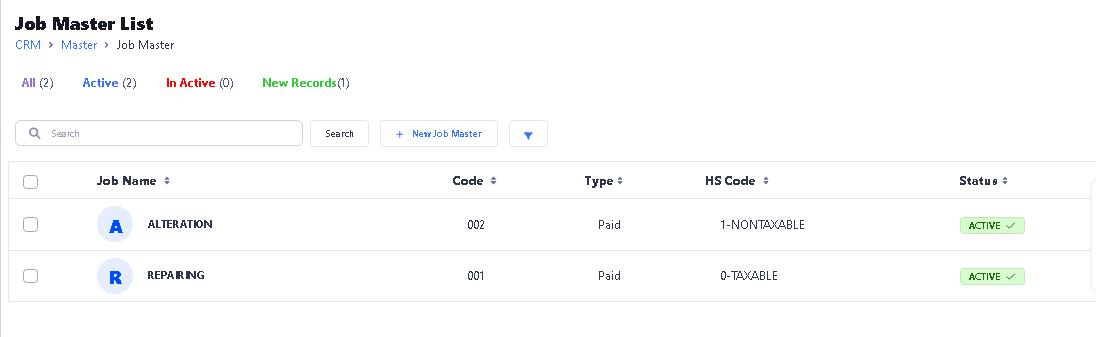
 > After click on Job Master function this window will appear.
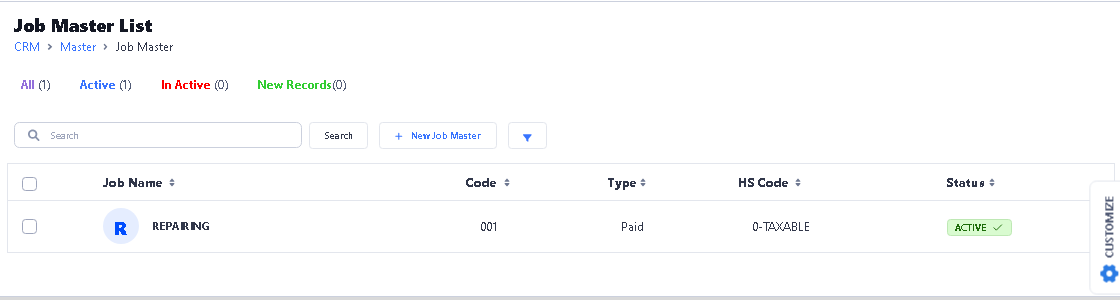
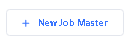
> Click on New Job Master button to Create New Job.
>After click New button new window will be open.
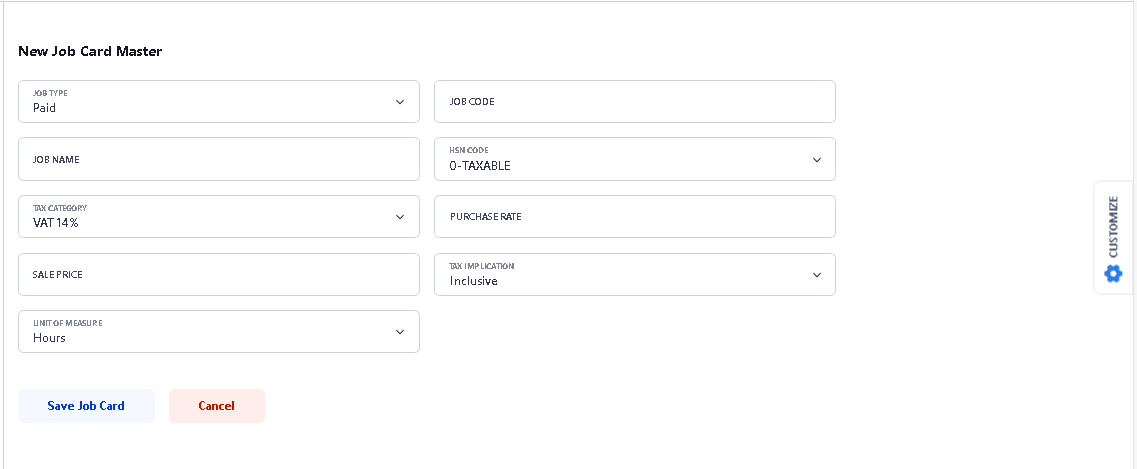
>First select Job Type, there are three option 1. Paid, 2. Free, 3 Third Party, select one from drop down option.
>Enter Job Code manually.
>Type Job Name in Job Name option.
>Select Taxable or Nontaxable option in HSNCode.
>Select Tax Category in Tax Category option,
>Enter Job Rate in Purchase Rate column.
>Select Inclusive or Exclusive tax option in Tax Implication.
>Select Unit of Measure, selected job is Hours wise or one time rate.
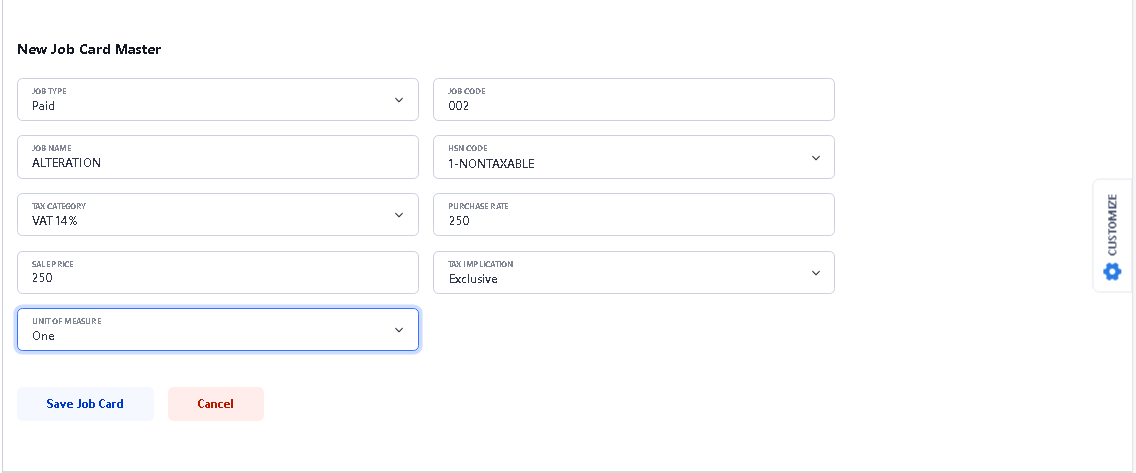
>After fill all the details, click on Save Job Card button to save the document.

> After click on save, you will see the confirmation message. Click ok to continue.
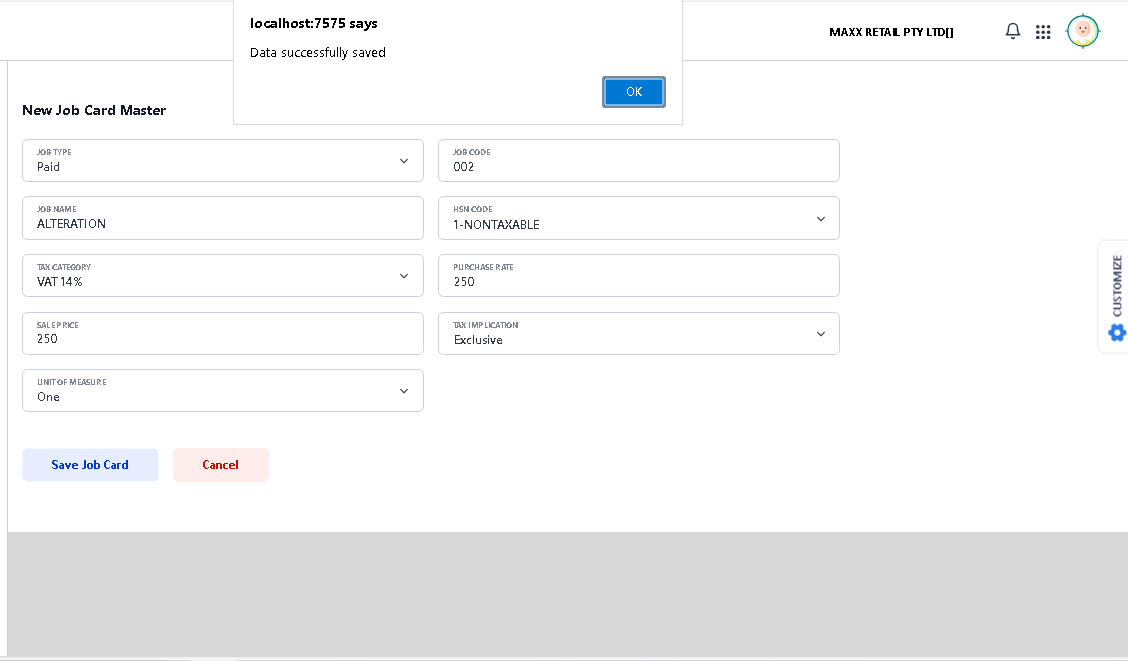
> Click OK, and you will see New Job has been created and showing in the list.
>Now your Step – I Process is complete.
>>Now Start Step 2. Job Order.
Navigation – Point of Sales – Point of Sales – Job Order.
 > After click on Job Order function this window will appear.
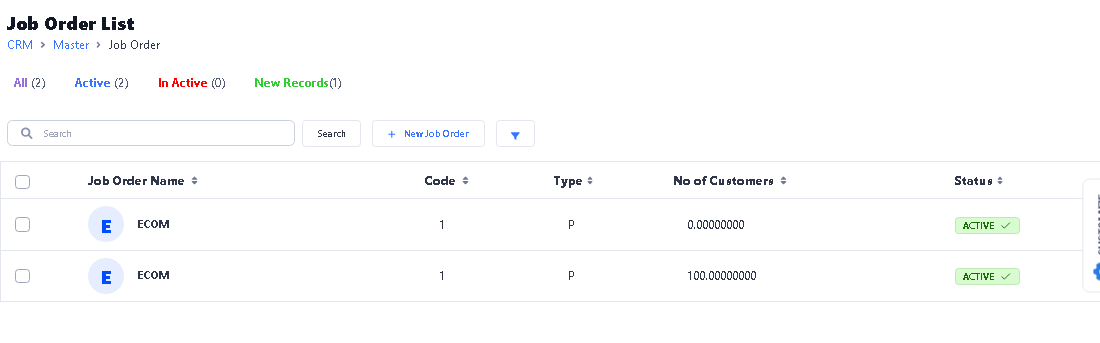
> Click on New Job Order button to Create New Job.
 >After click New button new window will be open.
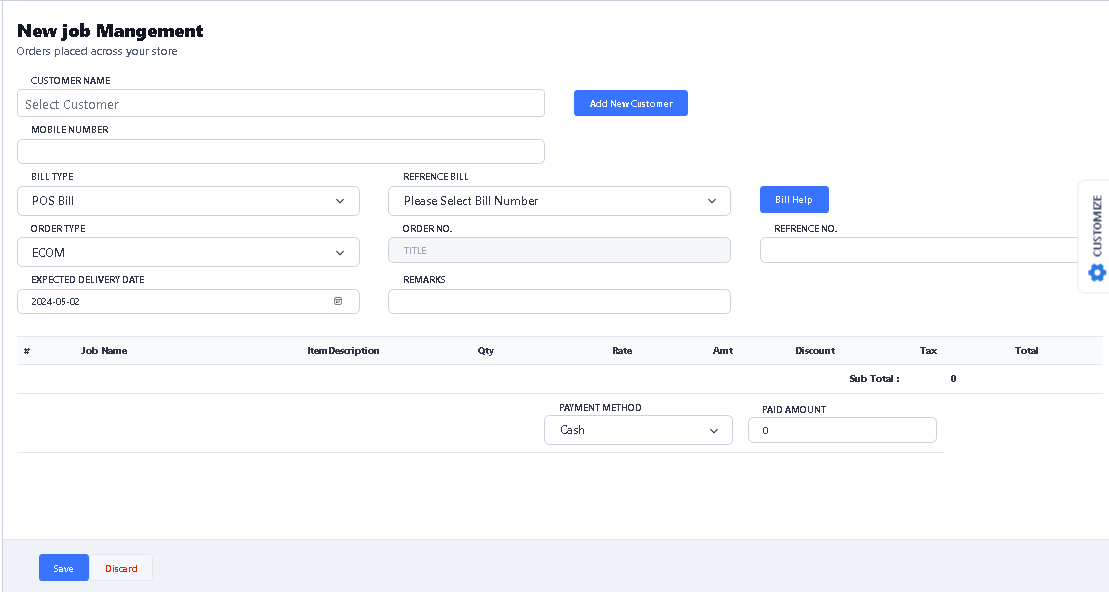
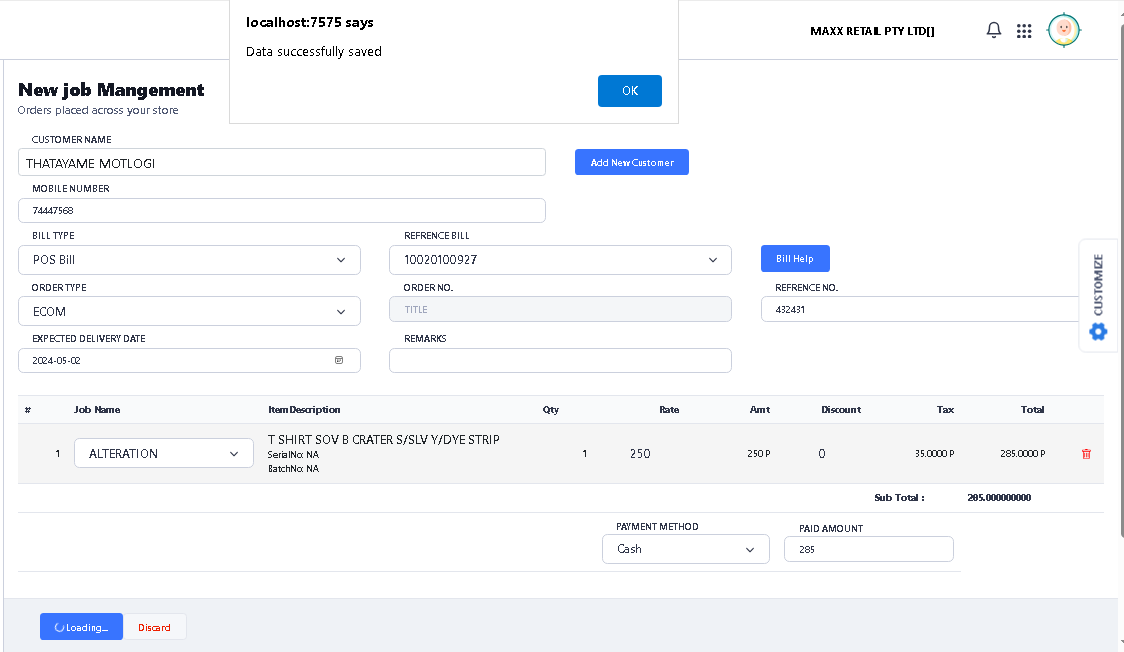
> First select customer by typing customer Name option.
> If the customer is not existing customer and you want to create new then use Add New Customer option to create new customer.
>Select Bill Type, there are two option POS Bill or Adhoc, 1. POS Bill, if you select POS Bill option then it will show all the bills of that selected customer. 2. Adhoc – If you select Adhoc option then you can select the item by search option.
>Select the bill from Reference Bill option.
>Select the Order Type.
>Type Reference No.
>Type Remarks it’s not mandatory.
>Select the Expected delivery date.
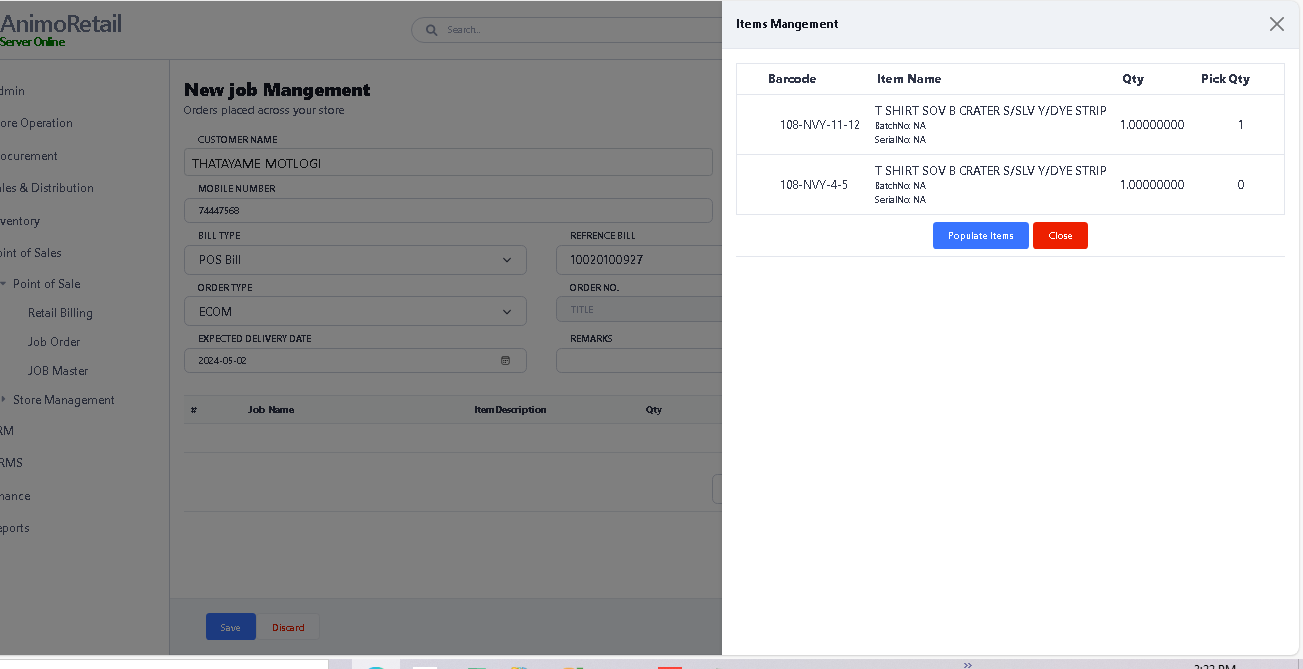
> After select Bill Number you will see the new window will be open to select the item, enter the qty in Pick Qty option. and then click on Populate Items button.
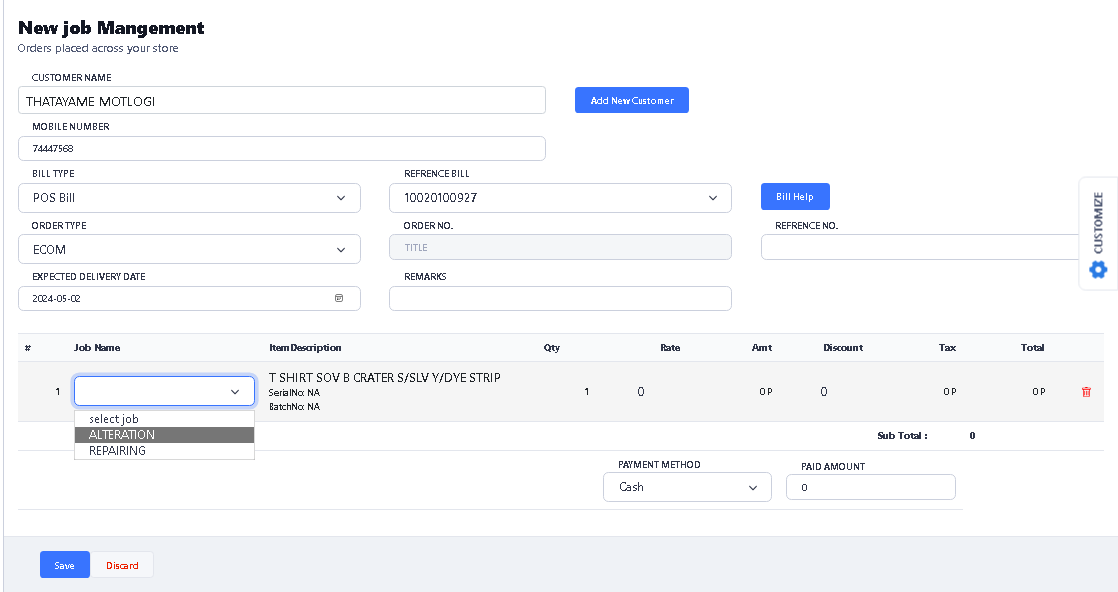
>After click Populate Items button, you will see the selected item showing in Job Order grid.

>Select the Job in Job Name by use drop down option.
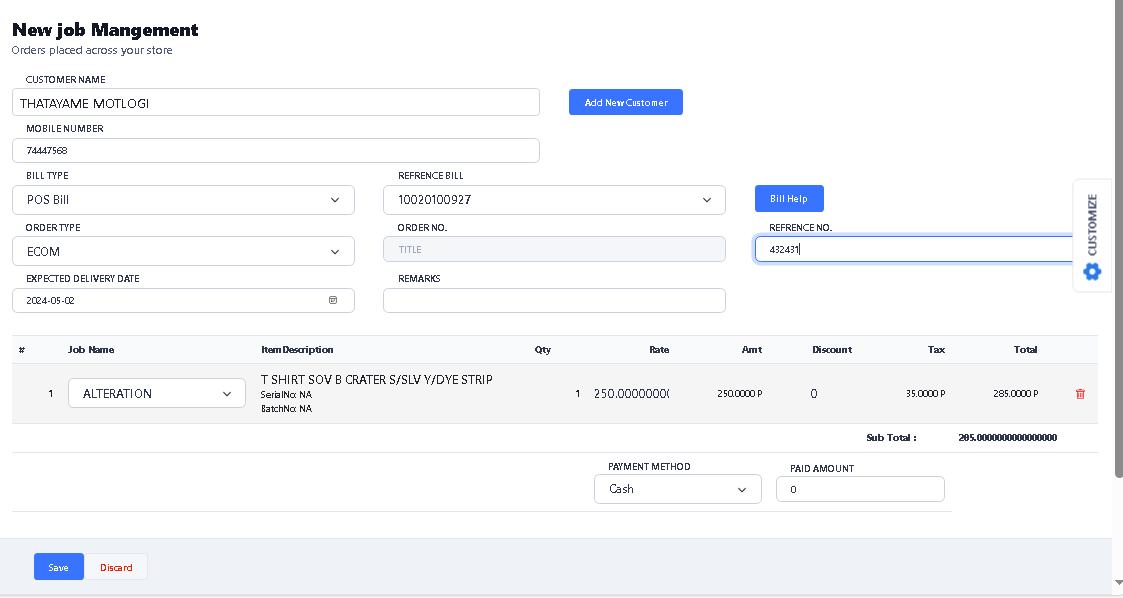
>After select the Job, you will see the values, if you want to change the Rate so click on Rate option and change it.
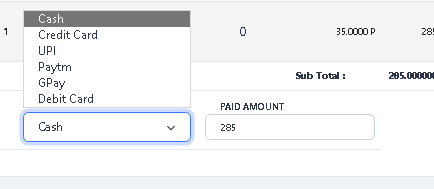
> Select the Payment Method by using drop down option and enter the Paid Amount.
> After complete all, click on Save button to save the Job Order.
> After click on save, you will see the confirmation message. Click ok to continue.
>Now your Step – II Process is complete.
>> Now your Job Mater & Job Order created Process is complete….