KB-0008 How to Create & Sale Service
> Here are Four step to create and apply Service Charge.
>>Step I – First create Group, Subgroup or Department of Service Charge.
>>Step II – Create Article of Service Charge.
>>Step III- Create Item of Service Charge
>>Step IV- How to apply Service Charge in POS Bill.
>Now Start with Step – I – First create Group, Subgroup or Department of Service Charge.
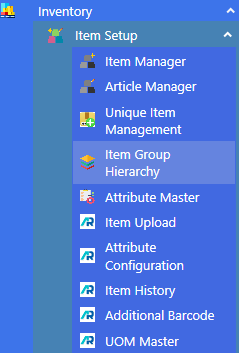
>Navigation : Inventory > Item Setup > Item Group Hierarchy.
> First click on Item Group Hierarchy.
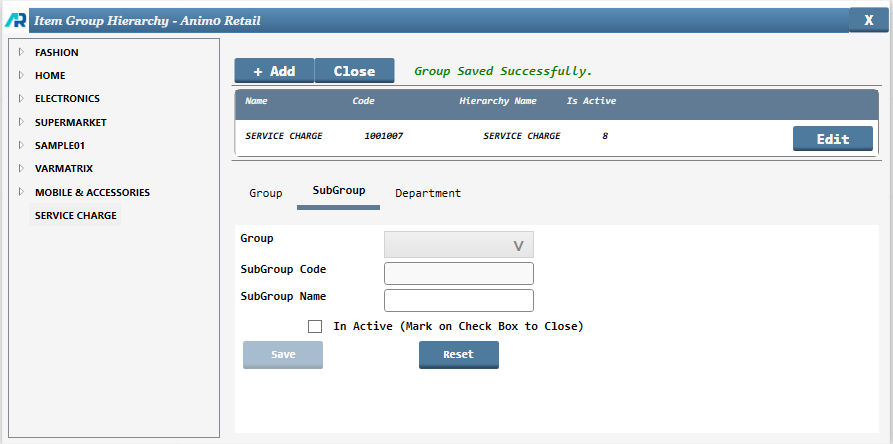
>After clicking Item Group Hierarchy this window will appear
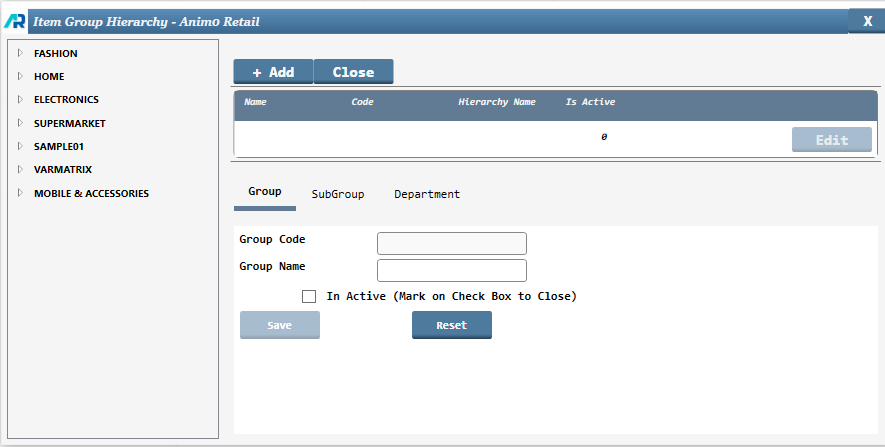
>Click on Group Name box and type Service Charge in this.
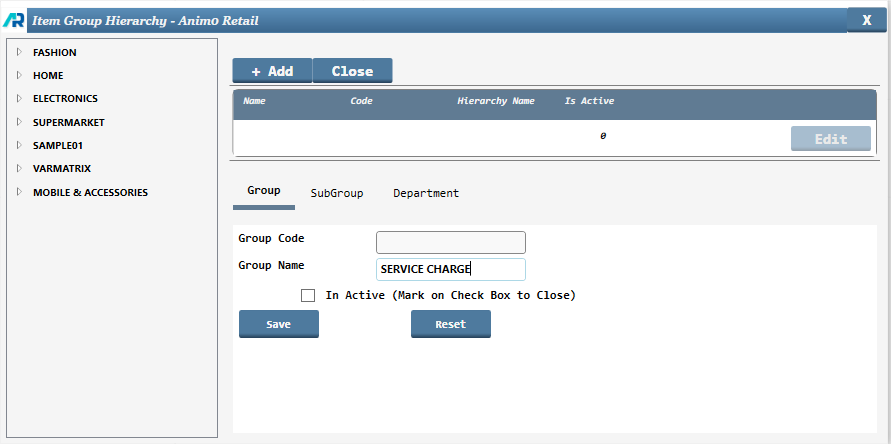
>After type Service Charge click on Save button.

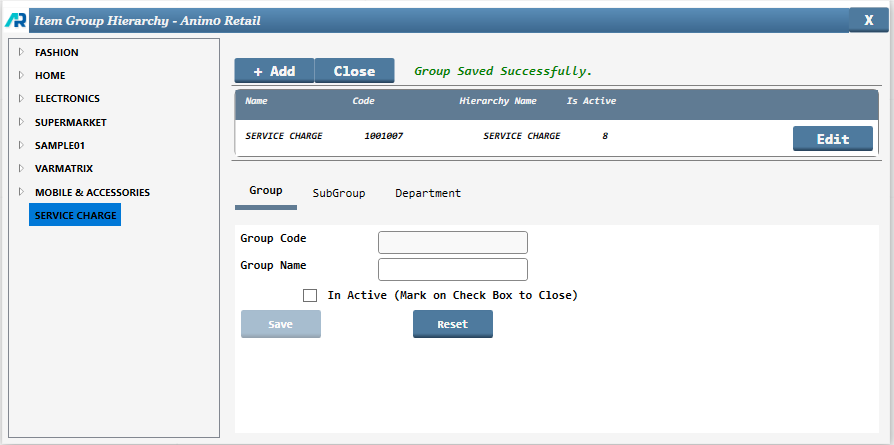
>After click on save button, Service Charge Group successfully created.
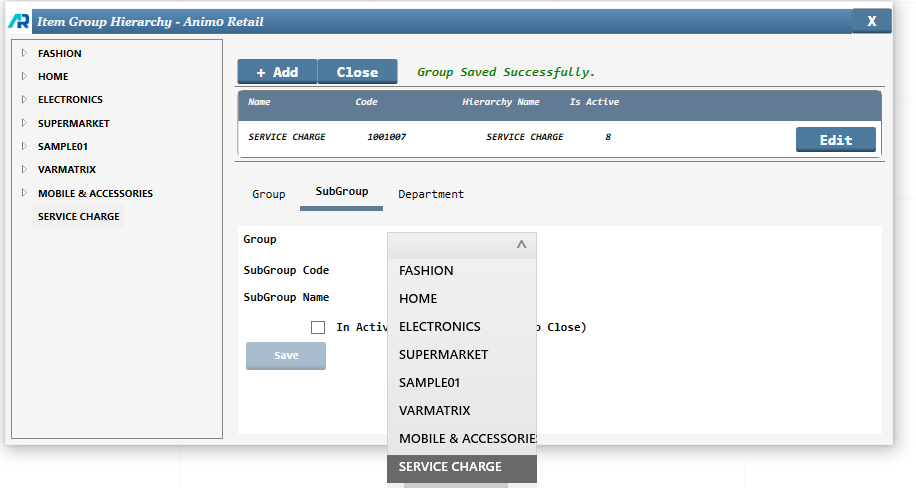
>Same like this now to create a Subgroup, click on Subgroup name.
>After that click on down arrow key in Group box and select Service Charge group that you have created.
>Click on Subgroup Name box and type Service Charge in this.
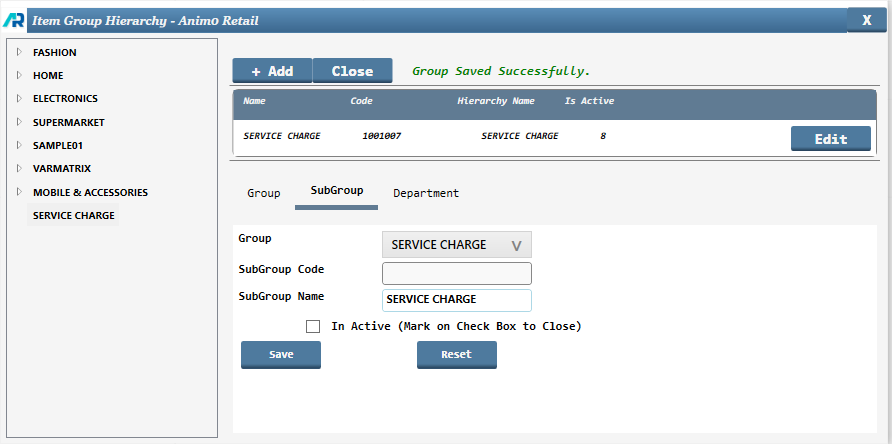
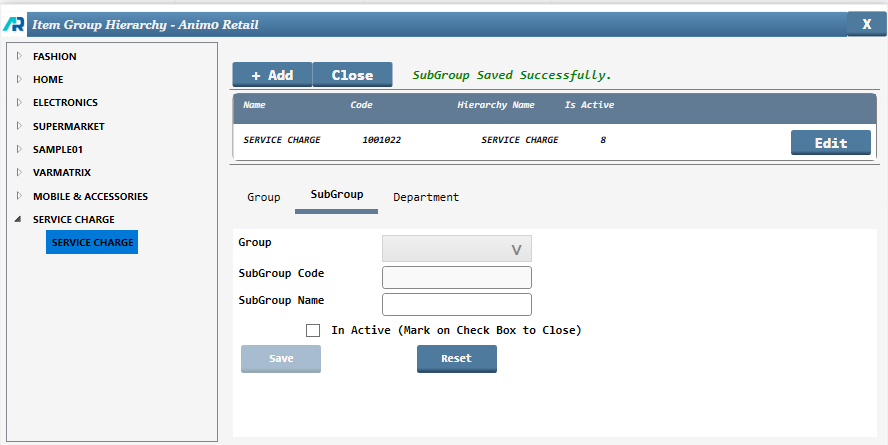
>After click on Save button, Service Charge Subgroup successfully created.
>Same like this now to create a Department, click on Department name.
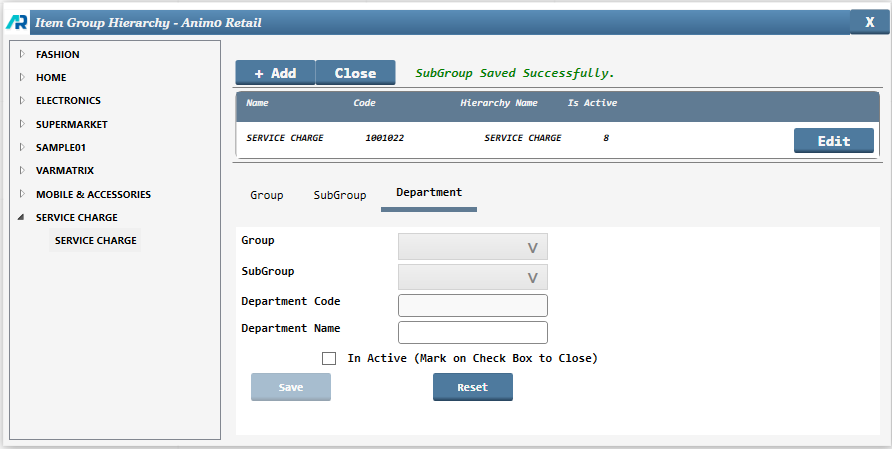
>After that click on down arrow key in boxes (Group box and Subgroup) and select Service Charge group that you have created.
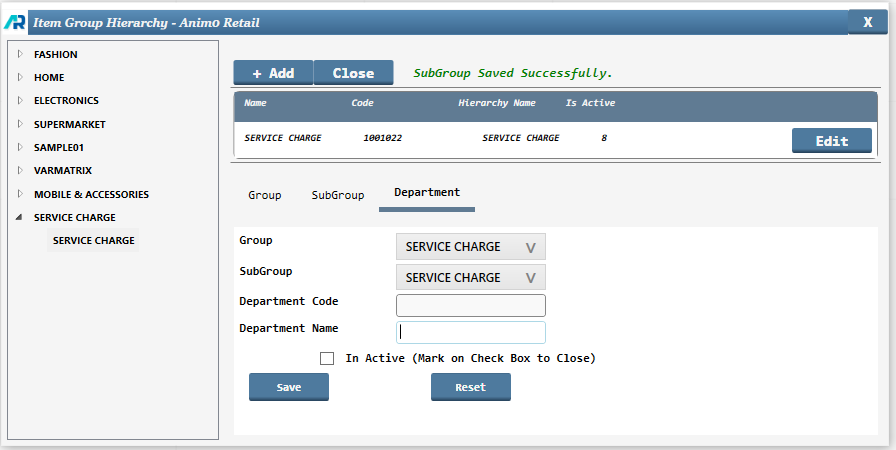
>Click on Department Name box and type Service Charge in this.
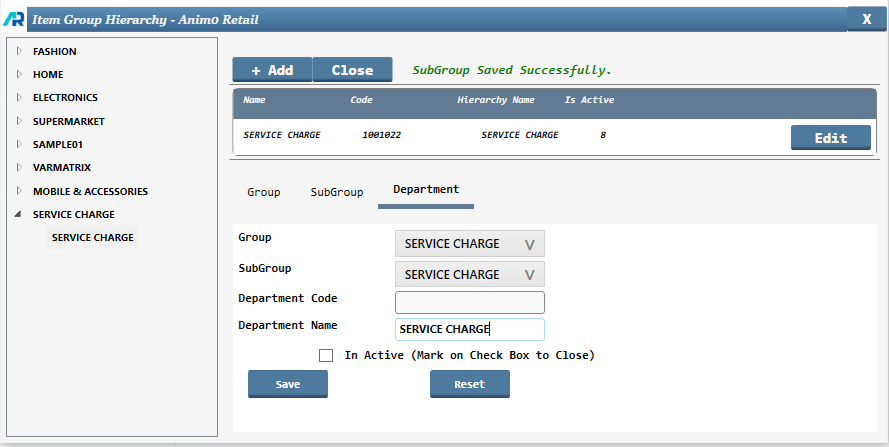
>After click on Save button, Service Charge Department successfully created.
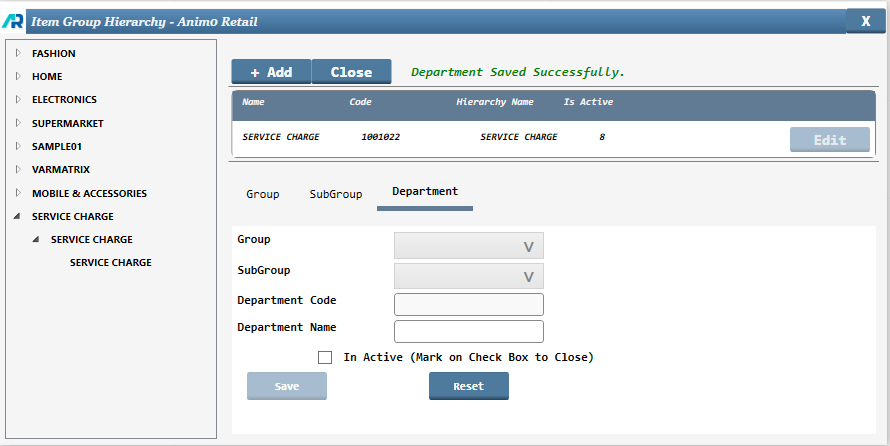
>>Now your Step – I Process is completed.
> Now start with Step-II – Create Article of Service Charge.
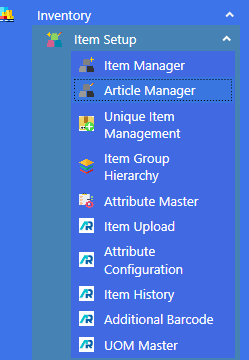
>Navigation : Inventory > Item Setup > Article Manager.
>Click on Article Manager Function.
>After clicking Article Manager this window will appear.
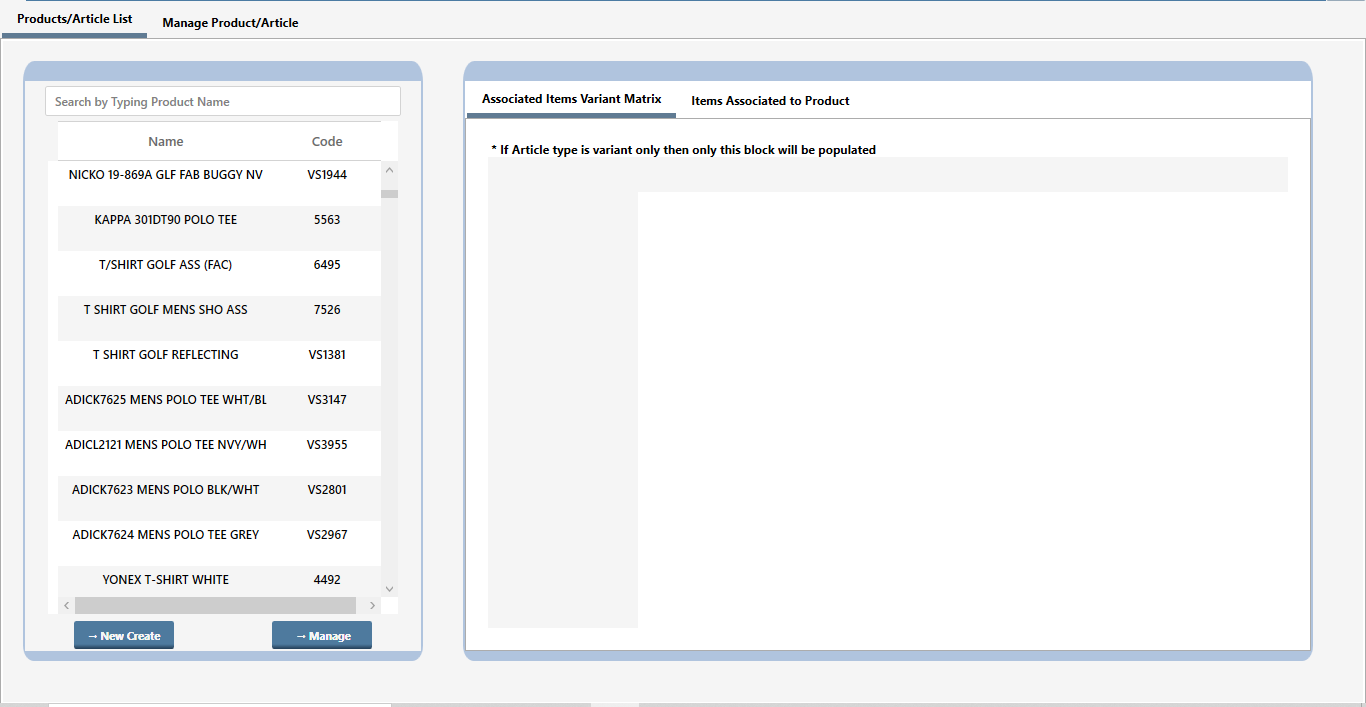
>Click on New Create Button.

>After clicking New Create this window will appear.
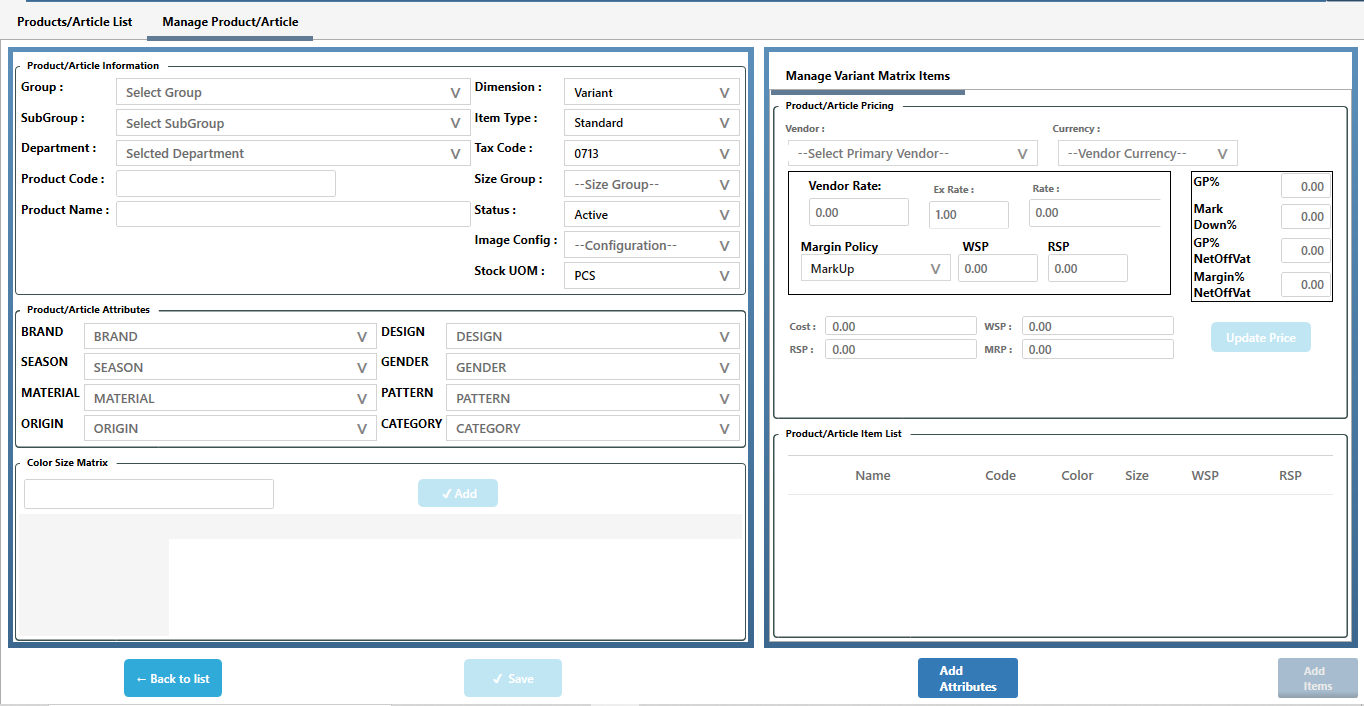
>Select Service Charge in Select Group box with the help of down arrow key, after that type Service Charge in Product Name Box. In all attribute you can select NA (Not Applicable) in all these, Select Standard in Dimension box.
With this, whatever amount of Service Charge you want to keep as minimum, you can put it here in Vendor Rate, Rate, Cost, WSP, RSP OR MRP, after enter the amount please click on Update price button. You can increase and decrease it in the POS Bill, we just have to enter it to create the Service Charge.
>The most important thing is to select the Service Item in the Item type box with the help of down arrow key.

>After filling all, click on Save button.
>>Now your Step – II Process is completed.
> Now start with Step-III – Create Item of Service Charge
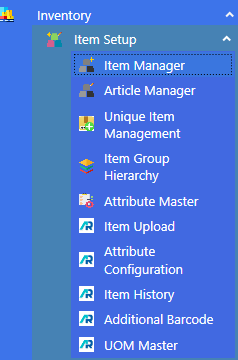
>Navigation : Inventory > Item Setup > Item Manager.
>Click on Item Manager Function.
>After clicking Item Manager this window will appear.
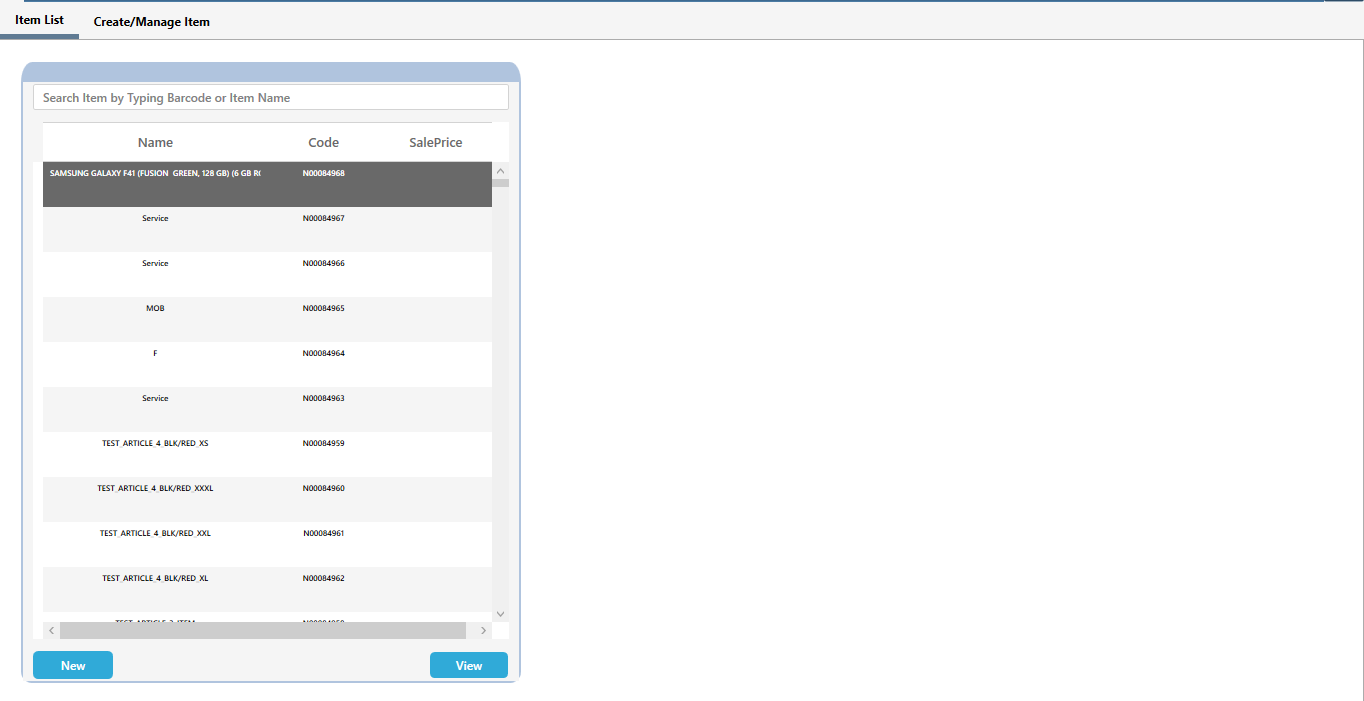
>Click on New button

>After clicking New button this window will appear.
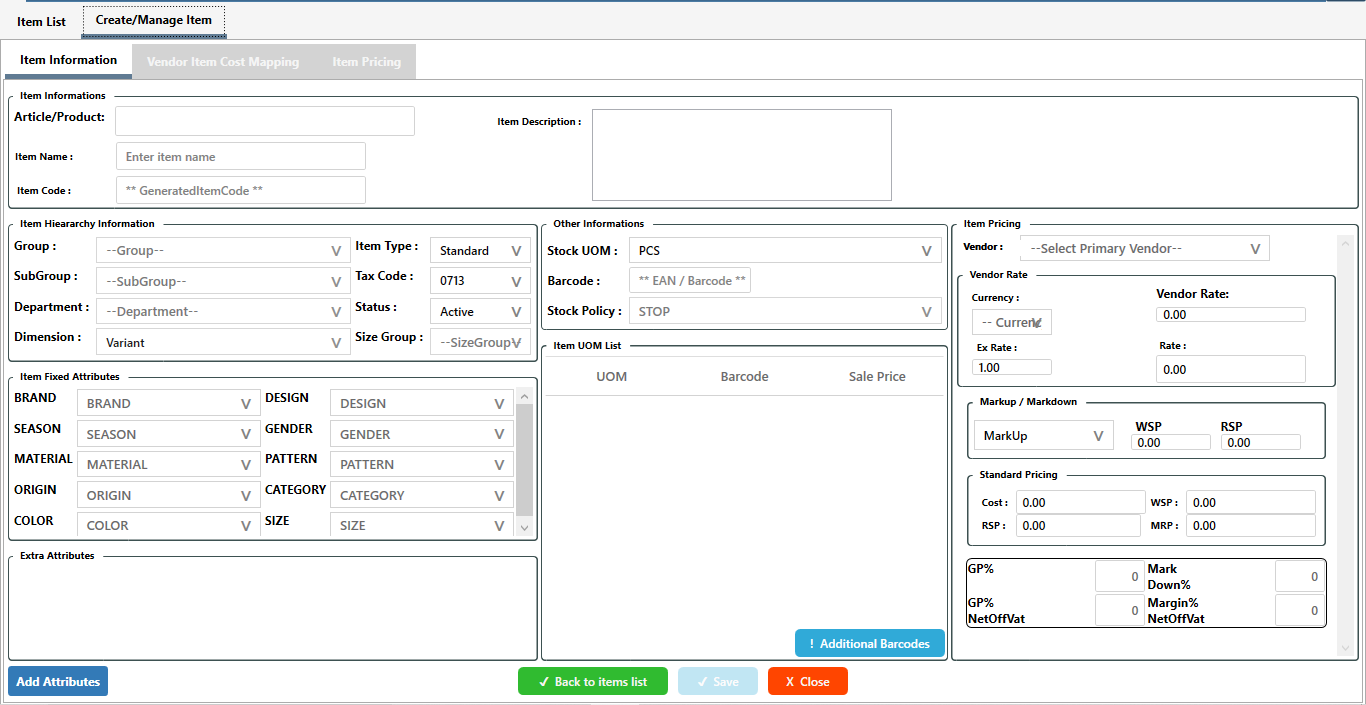
> Select Service Charge in Article/Product (that you have created), type Service Charge in Item Name box, Select Service Item in Item Type, now enter the same amount in Vendor Rate, Rate, Cost, WSP, RSP OR MRP that you entered while creating Service Charge article.
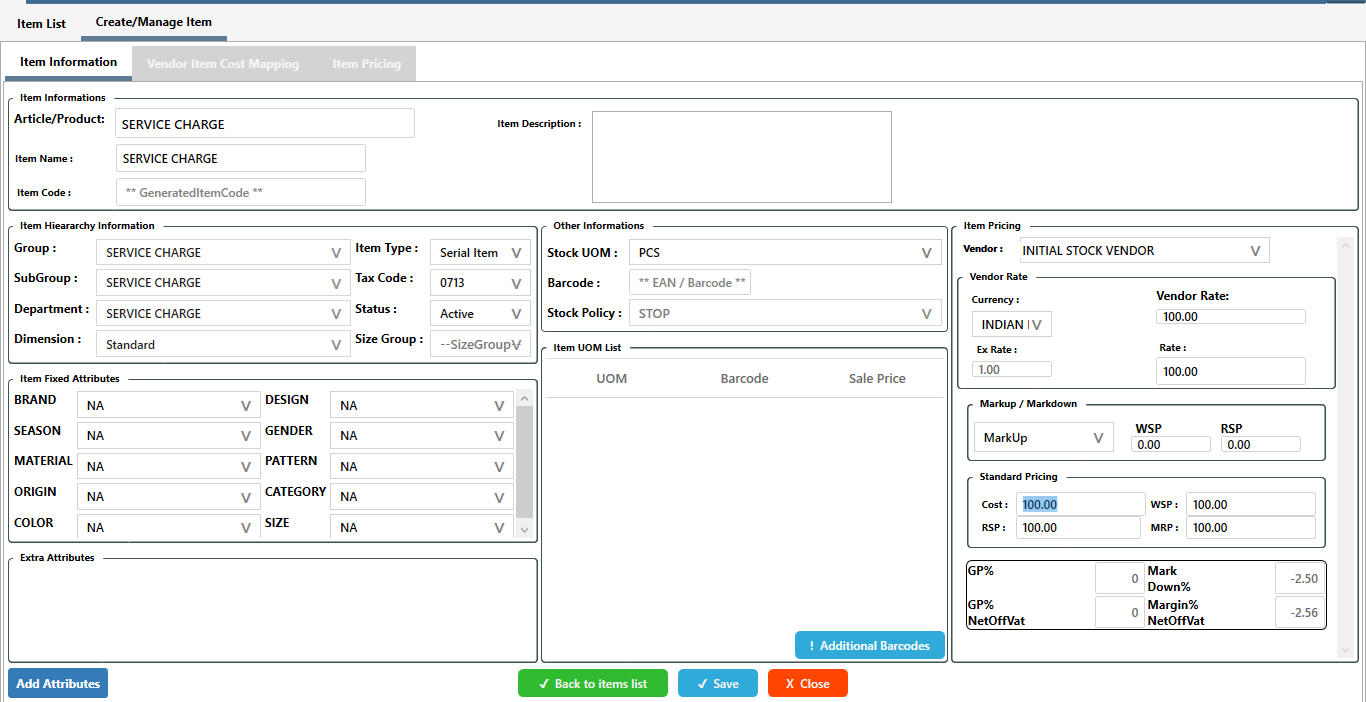
>After filling all, click on Save button.

>After click on Save button, your Service Charge Item Code will be generated.

>>Now your Step – III Process is completed.
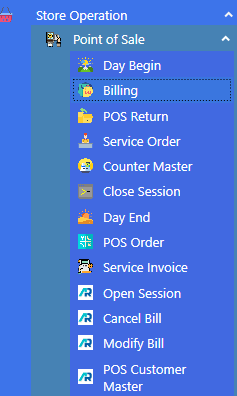
> Now start with Step-IV – How to apply Service Charge in POS Bill.
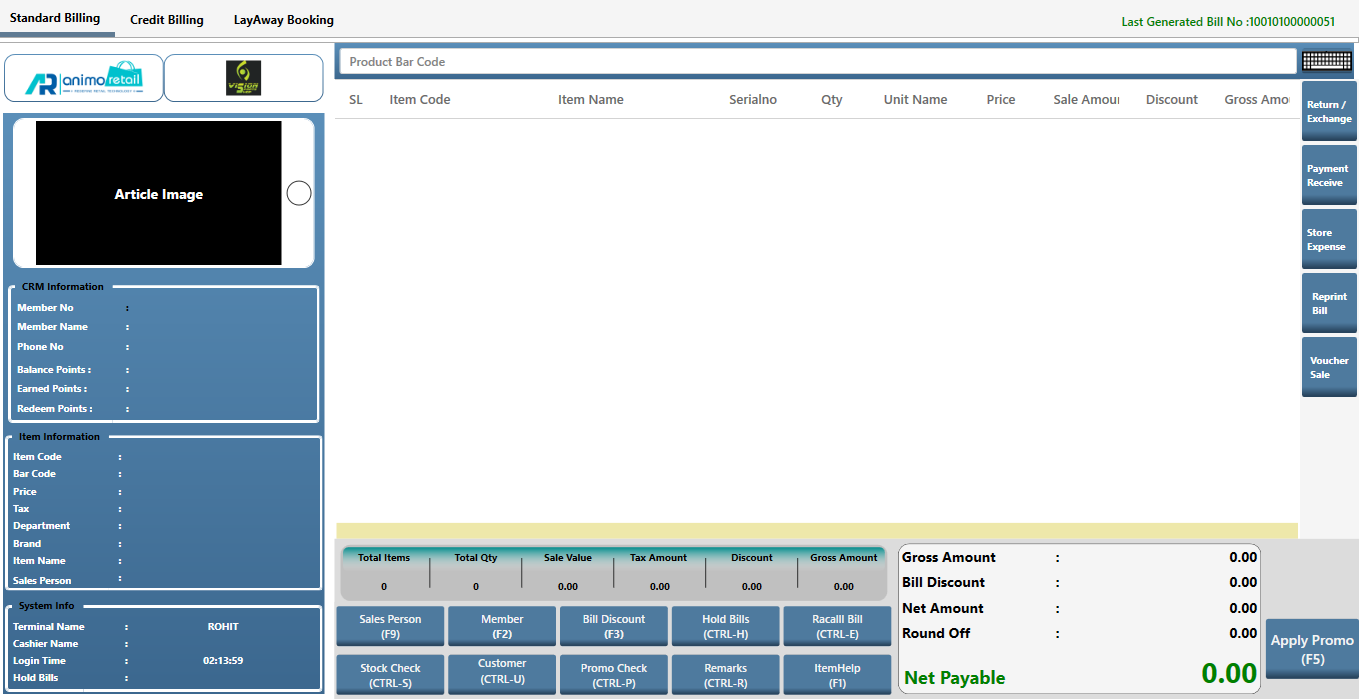
> Click on Billing Function.
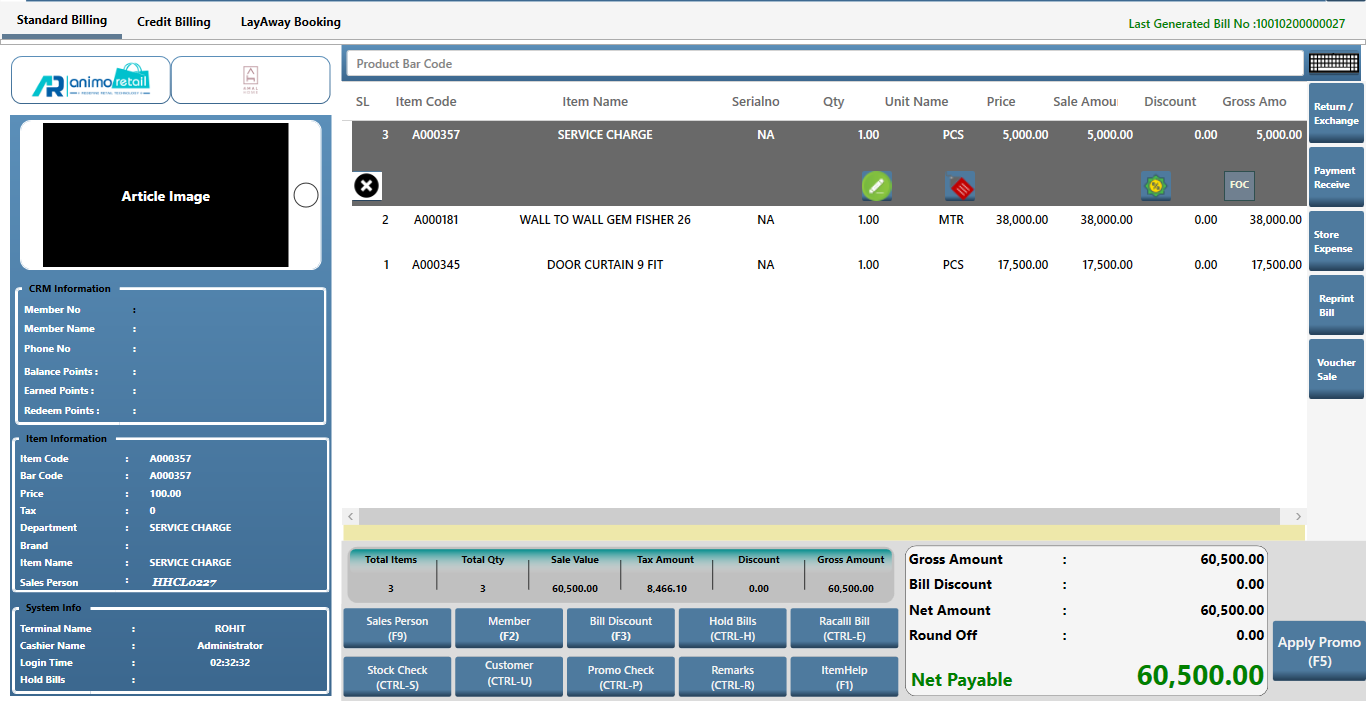
>After clicking Billing function this window will appear.
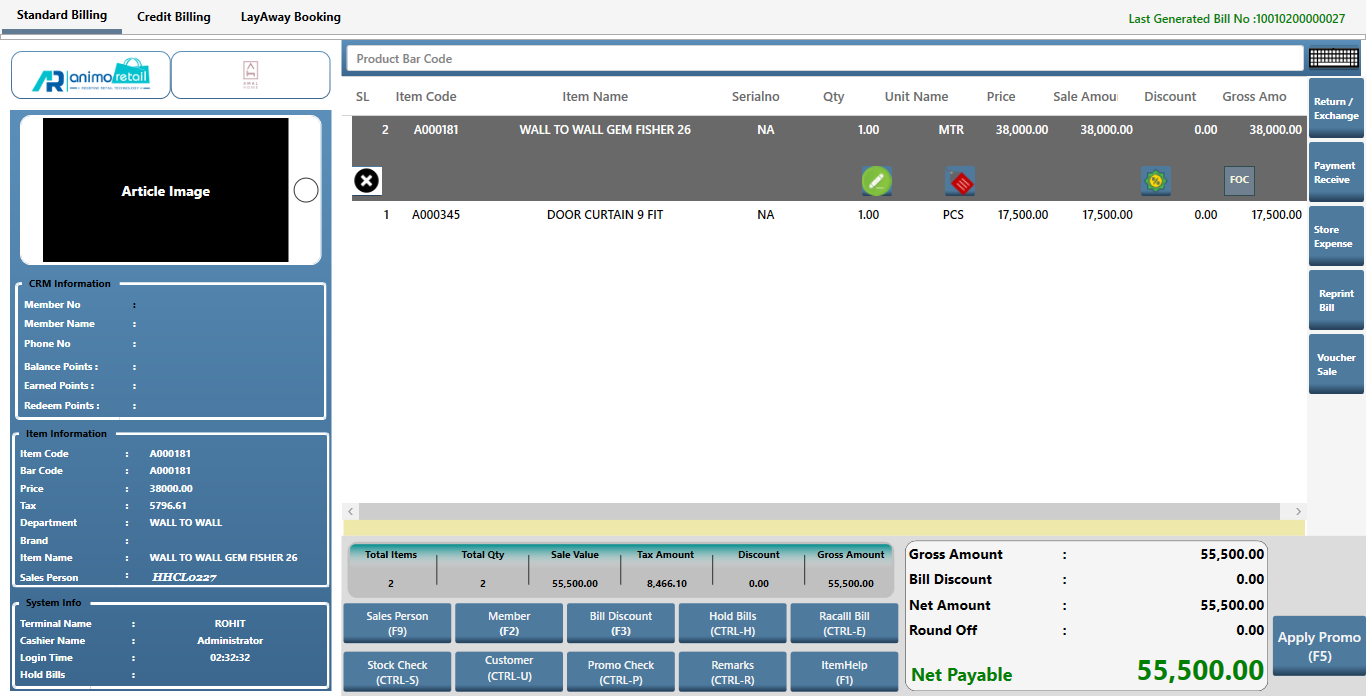
>First you Select the items for which you want to Bill.
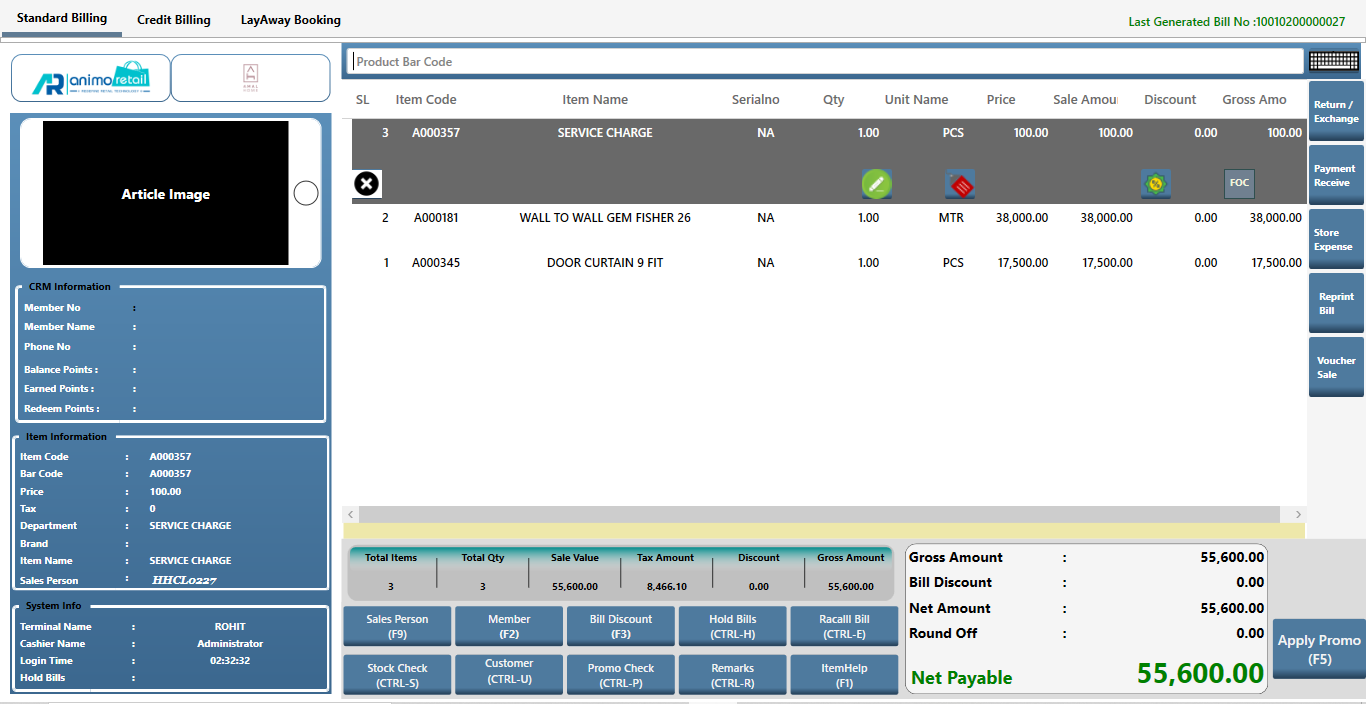
> After Selecting the Items type the Item Code (A000357) of the Service Charge in Product Bar Code.

> After type the Service Charge Item Code press Enter.
>To change the Service Charge amount click on this icon.

>After click on this icon this window will open, enter the Service Charge amount in it and click the OK button.
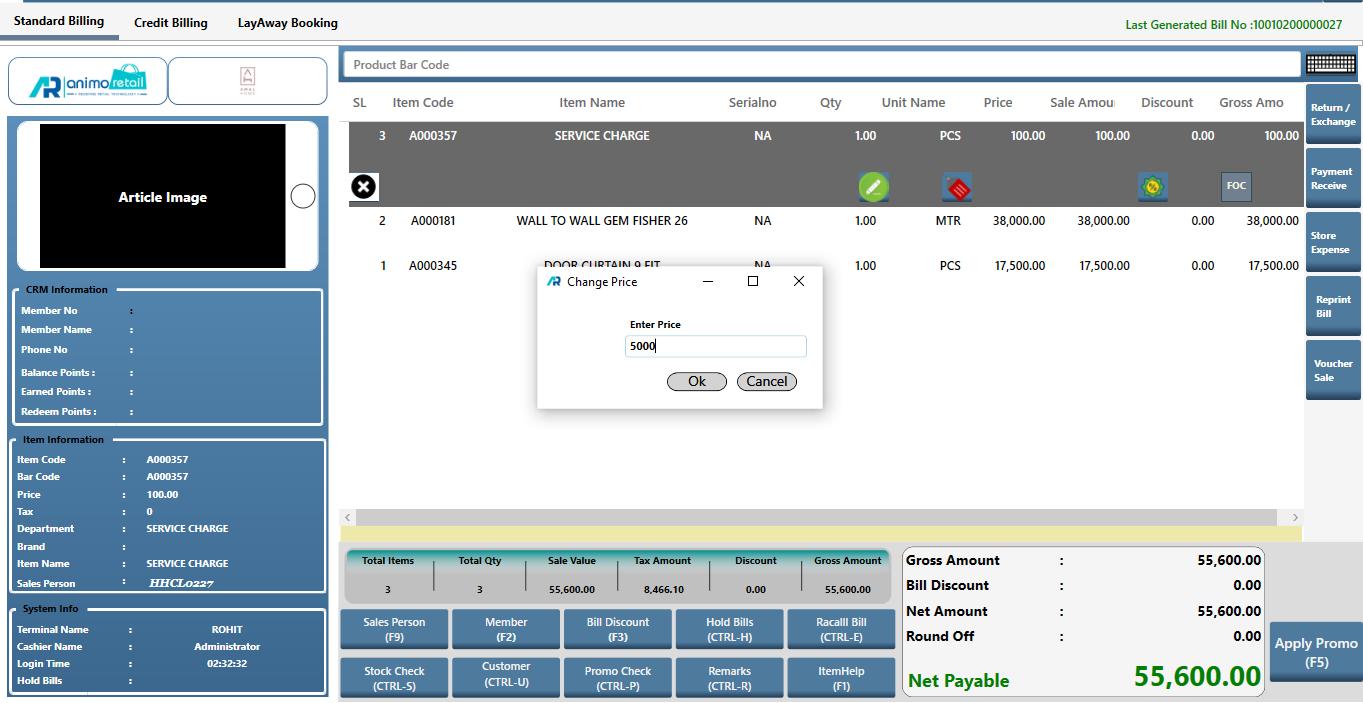
> After click OK button the Service Charge will apply successfully.
>>Now your Step – IV Process is completed.
>>>Now your whole process of How to create and apply Service Charge is completed successfully.